
Christmas Cross Stitch Framing Project
Hello friends,
I finished a Christmas cross stitch project in back in December last year, and it's been sitting in my craft room, judging me, ever since then. And since December is nearly upon us once again, I thought it was finally time to get it finished, and I thought I'd share with you my method of framing it.
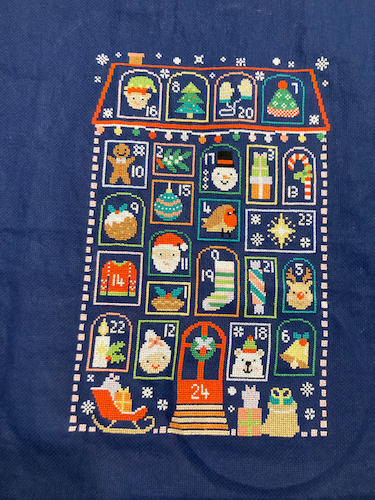
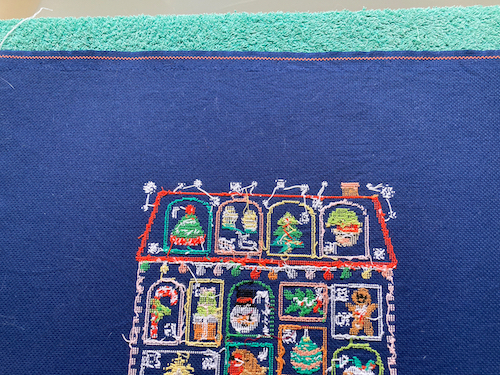
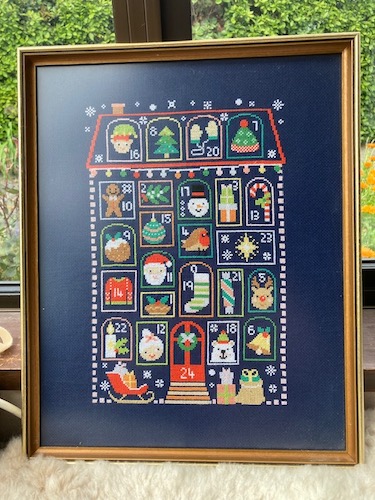
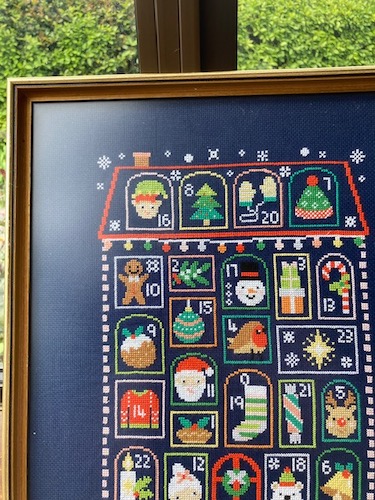
The Christmas cross stitch project I finished was the pattern "Stitch Into Christmas" Stitch-along, which was designed by Caterpillar Cross Stitch in 2022. The pattern was split up into 6 parts, and every two weeks a new part was released for you to stitch. I finished the pattern on the 28th of November in 2022, and I used the called for DMC floss, and a fat quarter of 16 count navy aida.
The first step in prepping a project like this for framing, is to wash and wet iron the project. The project is soaked in luke-warm water for an hour with a small squirt of Eco Store Eucalyptus Eco Wool Fabric Detergent, along with a couple of Sard Colour Catchers (you can get them from your local supermarket). Even though DMC and Aida are technically colour fast, it always pays to be careful, since hundreds of hours of stitching work are on the line.
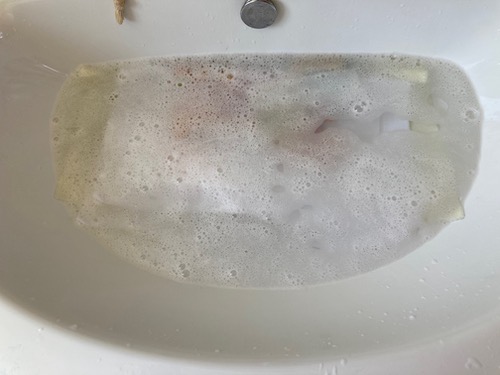
After this, the next step is to rinse the project in more luke-warm water. Once the water runs clear and bubble free, I throw the project into the washing machine on fast spin setting to remove all the excess water. The next step then is to iron the project while it is wet, as this helps remove any creases that have formed over the long term.
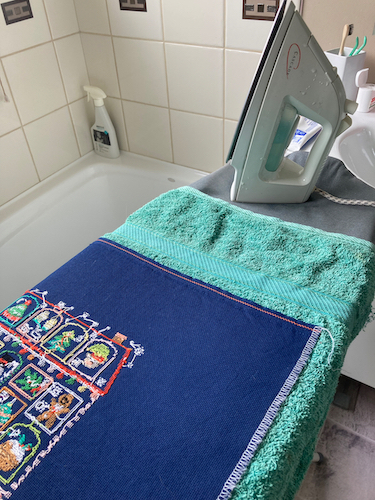
In order not to squish the cross stitch stitches, a double-layered towel is placed on the ironing board, and the cross stitch project is ironed upside down on this, with the iron set to a low cotton setting with full steam.
Once all the creases are out, the project is then left to air dry for a couple of days. After that I repeat the ironing process to remove any remaining creases.
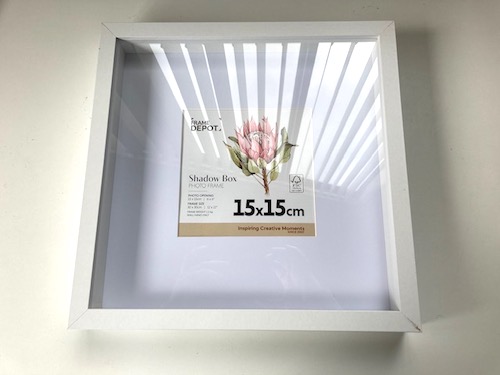
The next step is to get a picture frame that the project fits into. I usually look for old picture frames in second hand stores, but sometimes the only choice is buying new if you can't find a picture frame that fits. In the next set of photos, I'm sharing the set up I used for framing a cross stitch project for my sister.
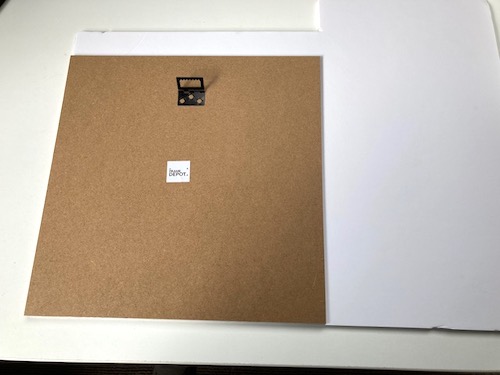
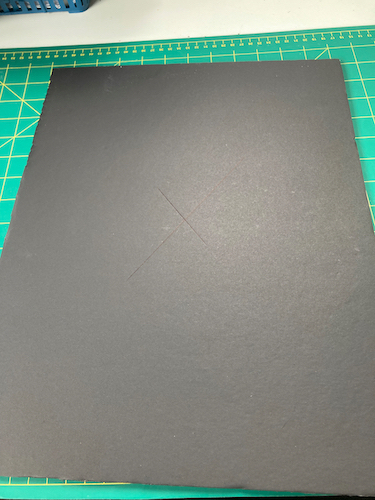
The back of the picture frame is used to measure out board foam which will be the backing for the cross stitch project: all that I had on hand was 5 mm board foam, but 3 mm is better. Cut out the measured board foam with scissors or a craft knife. Then check the foam board fits within the picture frame with a little bit of wiggle room to spare, as you have to leave space for the cross stitch fabric.
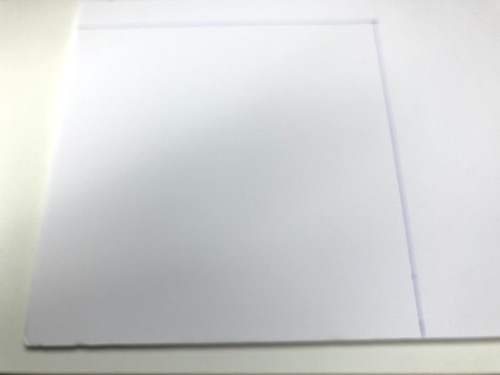
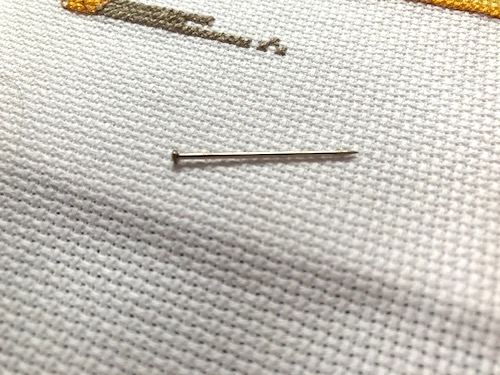
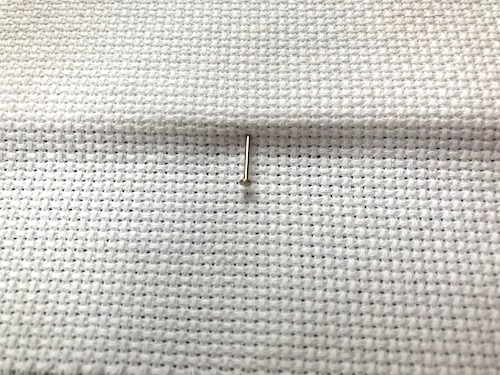
Then use a ruler and a light pencil to make a small X in the middle of the foam board to find the exact middle, and then place a pin vertically through the middle of your cross stitch project by using your pattern as a guide. Then place the pin vertically into your foam board in the middle of the X drawn. Your cross stitch project will then be centered, and then you rotate your project to get it squared up using the aida lines as a guide.
Once you have your cross stitch project all centered and in the right place, it's time to hold it in place using Sequin and Bead Pins. I'm not sure exactly when and why I got my set of pins, but I've found they're perfect for framing cross stitch projects. Slide them into the foam board through the cross stitch fabric, and all the way in, so it's permanently in between the two cardboard layers of the foam board. I start by putting one in the middle of each side, slightly pulling on the fabric as I go to straighten it, and then placing more pins all the way along the four ends of the foam board, until the fabric is taut and even and squared across the whole piece. If the cross stitch project is skewed, just take the pins out and try again. Once you're totally happy with the way it looks, it's time to frame the project.
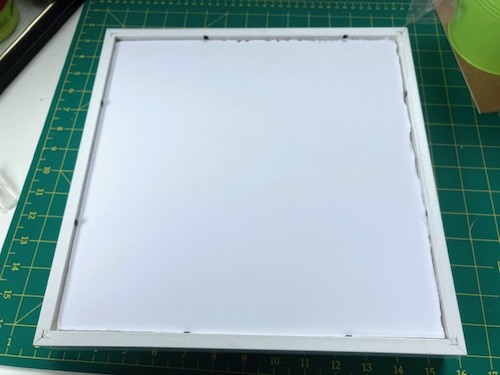
After cleaning the inner glass surface of the picture frame, and removing any cat hair, or any other hair or fluff from the cross stitch project, insert the cross stitch project and foam board into the picture frame.
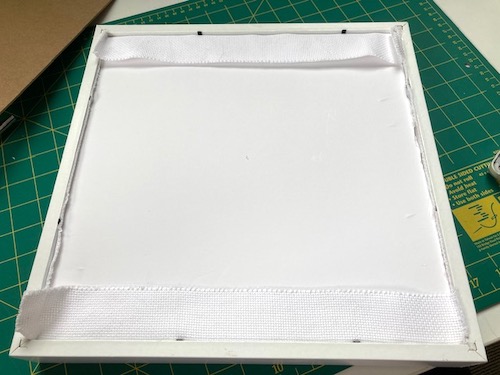
Flip the picture frame over to make sure you have the project in the right direction, and that it looks squared against the picture frame, and then it's time to trim off any bulky cross stitch fabric on the back side. I try not to trim too much just in case I want to reframe the project in the future, but it's a good idea to remove anything too bulky, especially if there's not a lot of space to fit the backing board back onto the frame.
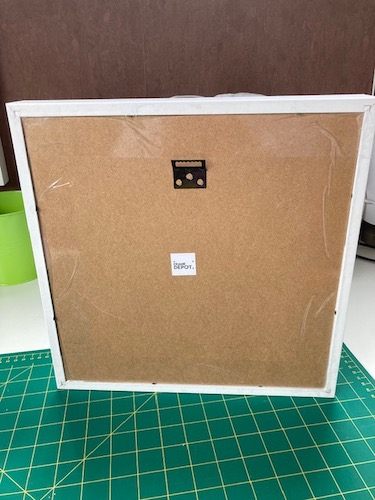
Once you've trimmed off the cross stitch fabric, just put the picture frame backing back into the picture frame. If it's too snug, and you can't get the pins around the picture frame to fit back onto the frame backing, just grab some tape, and tape it in place. It's probably not the best way to do it, but it's worked for me in the past.
And there you go, framing your cross stitch project is finished! I'm really pleased with how the project has turned out, and it's already up on the wall for Christmas. I found this picture frame at a second hand store for only $5, so it was a great deal.
I hope you give this framing method a go, it's not really too hard, and you can keep playing with things until you are happy with the outcome you want.
Are you getting ready to decorate for the holiday season? We don't decorate until the 1st of December, or the first weekend after that, whichever comes first. We are off work on the 1st, so we'll be pulling out all the decorations, and the Christmas tree then.
Have a wonderful day.
Julie-Ann
Want to discuss my post? Feel free to chat with me on Instagram or Mastodon.
Social Media


Archives